Simple Makerspace Ideas for High School
Great makerspaces for high school students aren’t all about the “stuff” their schools are able to buy.
Far too often, schools and libraries go out and buy things that other schools and libraries have – things that are trendy and their administrators think they should buy. The latest makerspace technology can be exciting for a while, but the excitement might not be for long.
The best makerspace ideas for high school should be personalized for your community, provide access to all students, can be student-driven, and can convey an intentional vision. They should also inspire students to make something they’ll be proud of.
Related post: Makerspace Grants for Libraries
Five General Principles for Great Makerspace Ideas for High School
Before we get into specifics for kitting your high school makerspace, let’s look at five general principles that will keep your makerspace fresh and energized over the long haul.
Personalize It
Makerspaces are easier to organize, fund and equip when they are thematic. Every high school makerspace needs a theme. Some schools want to encourage excellence in STEM, while another is to give students hands-on, practical skills that they can use to earn money right away. Some would like to organize their makerspaces around compassionate service to their communities, and another wants to organize makerspaces around themes from faith. But some makerspaces are just a place for students that have fun!
Make It Inclusive
Every student should have access to makerspace. This means that themes should not be so narrow that some students in the school are left out. Differentially able students should be accommodated, but also the full range of interests and personalities should have a place in makerspace.
It Doesn’t Have To Be Student-Driven
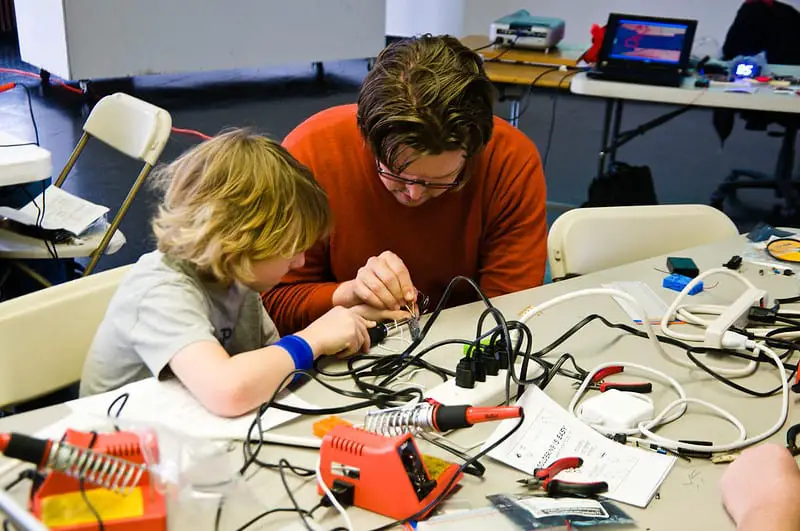
Sometimes, the role of makerspace teachers is to build a foundation under their students’ castles in the sky. And most of the time, their role is to allow students to find their own empowerment. Here’s an example:
Xavier was a ninth-grader who didn’t have any friends when he started high school, but Xavier had a talent for programming. Xavier built an arcade system, not only because he had a passion for coding, but also because he knew that other students would have to talk with him if he built the arcade. Xavier demonstrated his maker skills but also acquired a network of peers who accept and appreciate him.
Intentional Vision
In our article on finding funding for makerspace, we talk about the importance of writing a succinct, memorable vision statement to impress grant-making agencies with your plans for serving your community. But vision statements aren’t just for funding and parental support. They should also motivate students to discover and learn more using their facilities.
A makerspace should be a place where students’ way of thinking can be changed from “I don’t know how” to “I don’t know how yet”. That way, they are more likely to persevere through the frustrations of learning through STEM technologies if they can feel like they are part of something bigger than themselves.
Inspire Students To Make Something
As makerspace expert Laura Fleming stated in her book, The Kickstart Guide to Making Great Makerspaces, “Great makerspaces create the conditions that inspire our students to want to make.” Celebrate makerspace student accomplishments to inspire other students to want to create, too.
Now let’s look at some specific technologies that often help make great makerspaces for schools.
Matching Materials For Your Makerspace
Makerspaces and their budgets can’t be the same as others. Material acquisitions for makerspaces should be modular. If you can’t buy everything you think you’ll need immediately, you can “kit out” a makerspace activity that lends itself to other activities until you can afford to buy new equipment.
Here is a step-by-step approach to finding the materials to match common
makerspace ideas for high school facilities:
More Workspace For Your Makerspace
There must always be more room for people to move around when it comes to makerspaces, especially when you’re catering to high school students. You’ll also need more space in order to strategically organize everything you have in your makerspace where students can feel at ease. There must be clear pathways for power cords, tables, makerspace tools, and safety equipment, too. When it comes to spaces for storage, shelving, whiteboards, and worktables could be assembled using DIY kits at considerable cost savings.
Woodworking In Your Makerspace

Wood is a fantastic starter material that’s available nearly everywhere. It’s inexpensive and familiar to almost everyone. These days, there are even beginner-friendly wood building kits for kids to get them started. Every makerspace should have at least the basic tools for woodwork. Power tools can be added to your equipment list to enable projects with more precision – drill presses and scroll saws could even be possible when budget and more space permits.
Metalworking In Your Makerspace
Metalworking tools enable students to make parts for bicycles, cars, and other machines. The skills of metalworking also apply to jewelry making, which can become a money-earning project for students who develop their metalworking skills. Torches and welding equipment also help students acquire marketable skills, but they require serious safety equipment and significant floor space (at least 120 sq. ft/ 12 sq. m) on a concrete floor. Students can also learn to solder
before they learn to weld.
Electricity, Electronics, Integrated Circuits and Microelectronic In Your Makerspace
Once students have learned how to solder and use an oscilloscope, they are ready for projects using microcontrollers and robotics as well as other electromechanical creations. Students can then learn how to build robots capable of following lines and avoiding objects which might mean that they’ll eventually be ready to build competition-ready robots.
Textiles In Your Makerspace
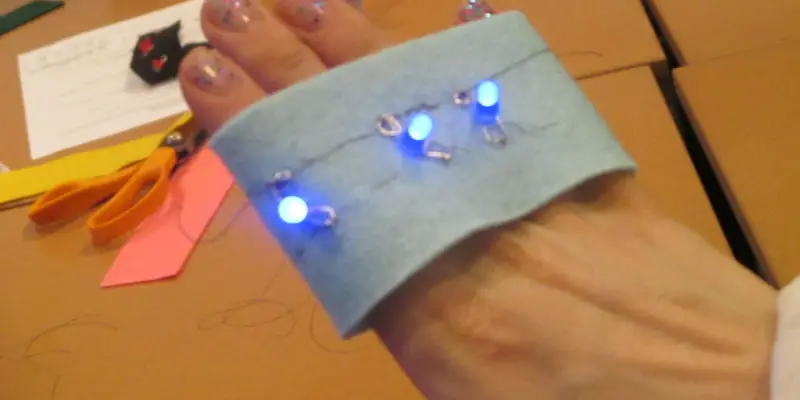
Textiles should be compatible with electronics in your high school makerspace. Sewing is by itself a creative makerspace activity, but students who gain expertise in both electronics and textiles can use lights, sensors, and microcontrollers to create clothes that react to the world around them.
Students can learn how to use sewing machines and sergers (for trimming and enclosing seams) in two class sessions. Previous experience in electronics greatly increases their creative potential with textiles.
Computers In Your Makerspace
Phones, pads, netbooks, and tablets are great for accessing information, but extensive research on things like how to control 3D printing, laser cutters, and professional design tools for STEM requires more than a hand-held gadget.
At some point, students will need to use a desktop or at least laptop computers, which you should have in your makerspace. And when you do, you should also consider setting things up ergonomically for the benefit of everyone. You can even consider putting up some sort of reminder on how to prevent back strain and eye strain for anybody who’ll use a computer in makerspace.
3D Printers In Your Makerspace
3D printers can create objects from ABS (the kind of plastic used in LEGOs), PLA (a biodegradable plastic), and even plastic that glows in the dark. Printers like this often require a dedicated space and thoughtful administration since projects involving 3D printers may take hours to print out.
Laser cutting and CNC (Computer Numerical Control) cutting require considerable expertise and may take hours to set up. These technologies should be reserved for makerspaces who have individuals who are trained to supervise students effectively.
Don’t forget that makerspaces can be modular
Not all makerspaces can have all the equipment and technology that students might need available all at once. It’s actually advisable to build a makerspace one step at a time so that you’ll also have ample time to plan out everything. Try to focus on building your makerspace in a logical order for better results.


