4 Fun and Festive Christmas STEM Projects
Christmas is a wonderful time of year for STEM projects. The kids are full of energy and enthusiasm, so it’s great to have something to do with all that excitement. Here’s a selection of some tried and true Christmas STEM projects – no matter the age of your kids, there’s something here for them to get stuck into!
Don’t feel like the ages are strict, no one knows your kids as you do, so you know what they’d get a kick out of and what they’d enjoy. It’s always possible to help with steps to get younger kids involved. On the other end, asking kids to figure out the science behind what they’re seeing can be a great way to make a simple project challenging.
Related post: 5 Exciting STEM Projects Using Recycled Materials
Christmas STEM Projects
Melting Hands (1 year +)
Christmas time is an excellent excuse for some ice and water play. Filling a pair of disposable gloves with water and tying up the wrist hole before putting them in the freezer makes an exciting ice sculpture. Bring the Christmas fun by freezing glitter, ornaments, and bits of tinsel inside. Adding food colors gives a great effect as well.
Once your Christmas hands are frozen, you can snip the end of the gloves and reveal your sculpture. Pop your frozen finger onto a big tray (high sides are a good idea). Provide your little ones with droppers and warm water and let them play. They can discover how the ice changes as it melts.
As the hands melt, they can free the hidden goodies. It’s great sensory play for little ones. Once the ice has melted, it becomes a pretty water table too.
Grow Your Own Crystal Ornaments (5 years +)
Growing crystals is a great year-round activity. You can play with the method to change the shape and size of the crystals you grow. Both versions of this give fantastic results; they just depend on whether you can get your hands on the ingredients.
Snow Frosted Wreaths
For this version you need:
- Ribbon/String
- Borax
- Hot Water
- A cocktail stick/chopstick/skewer
- Garland (Green works best, but any color will do)
- Big mixing bowl
Cut off a section of garland to make your wreath. The biggest bowl in your house will limit the size; it has to fit inside. Use the ribbon to tie up the ends and leave enough to make a loop to hang your wreath from.
Hang your wreath from your chopstick over your big mixing bowl. It shouldn’t touch the sides at all. If it does, you’ll not get crystals.
Fill your bowl with the crystal solution. This is three tablespoons of borax to every cup of hot water. You want a saturated solution, which means you will have some borax settled on the bottom of the bowl.
Hang your wreath in the solution and DO NOT touch for around 12 hours. To get the best crystals, you don’t even want to breathe too hard near the bowl! Less movement = better crystals.
When the time is up, remove your wreath. You can use a tea towel to gently dry it off before you hang your beautifully frosted wreath on the tree.
Crystal Christmas Tree
Grow a Crystal Tree – DIY by KiwiCo
Items to find:
- Cardboard cut into a 3D Christmas tree
- Food coloring (optional)
- Water
- Table salt
- Laundry bluing (this can be hard to find depending on your location)
- Ammonia (optional but improves your results a lot!)
This great project lets you, and your kids, watch as your cardboard Christmas tree sprouts beautiful snowy crystals.
All you need to do is make your Christmas tree. Dot it with food coloring, if you want ‘ornaments’ on your tree. Then, leave it to stand in your crystal solution. Tinkering with the solution is a great experiment and a way to extend this project.
A good starting recipe is:
- 1 tablespoon water
- 1 tablespoon bluing
- 1 tablespoon salt
- ½ tablespoon ammonia
Once your mix is done, you just need to wait for the crystal to appear. The first ones are usually making an appearance at about the 1-hour mark. If you want to keep them growing, just add more solution.
If you can’t get your hands on laundry bluing, there are loads of excellent crystal growing kits that are pretty inexpensive and work well.
Hidden Message Decorations (7 years +)
Making Christmas decorations is a pretty traditional Christmas activity. This project is an opportunity to take your festive creations to a whole new, extra nerdy level. Plus, it gives you and your kids the chance to learn a little about binary codes.

If you already have a tried and tested method for making decorations, then it’s easy to incorporate this extra step. If you’re generally not the crafting type of household, then all you need are two colors of ‘beads’ and ‘string’.
Example:
- Popcorn and Cranberries on a string
- Beads and pipe cleaners
In traditional decorations, the aim is to make something pretty. In these decorations, the aim is to write a message in binary code. Instead of using 1s and 0s, you use two different colors. Eg 1 = red and 0 = green. If you want, you can add in a third color to break up words or letters.
Decide on the message. Then convert it to binary using a table like this one. For extra fun, have the whole family make their own decoration then pass them around for decoding.
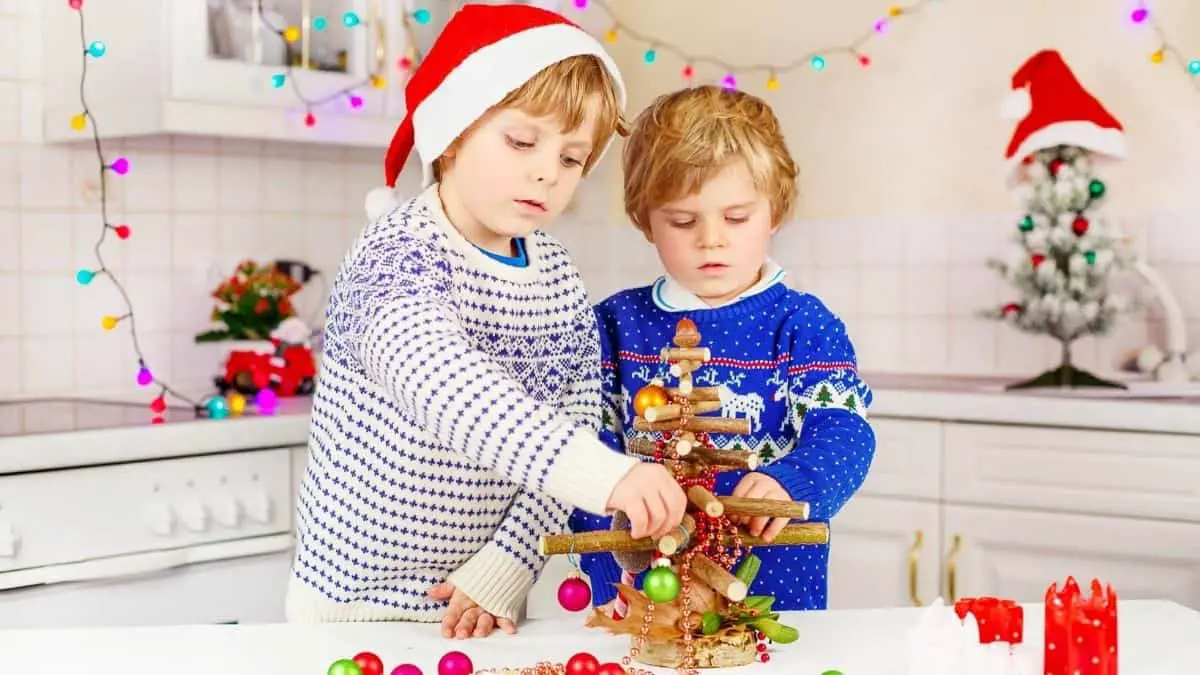
Build Your Own Christmas Tree (any age)
Christmas trees are a fascinating shape and structure. It’s so iconic. Which makes it a great shape to try and recreate. Everyone knows what it should look like, but there are infinite ways to get there. The other great thing about this activity is that you can use any material you can lay your hands on. Here are some ideas to get your inspiration flowing
- Cardboard – in any form toilet rolls, cereal boxes, amazon packets
- Plastic cups
- Nuts, bolts, and screws
- Lids from all the broken pens in your home!
The more unusual the material, the more interesting the engineering challenge. If your kids thrive on competition, you can award the highest tree, the best use of materials, or just the most festive. For the more mathematically inclined, you could give them a nudge towards exploring fractal patterns and see what they come up with.
Frequently Asked Questions
How do you spot a good STEM activity?
Good STEM activities are ones that will appeal to your child. Anything hands-on is great as it gets them involved and invested. The best activities help them to learn new skills or encourage them to ask questions and solve problems.
Who are STEM projects for?
STEM projects are for everyone. They are fun, exciting, and interesting projects that can appeal to anyone of any age.
What are the benefits of STEM projects?
STEM projects are an excellent opportunity to explore the world with your child. You can show them the wonder and excitement of science and technology. These projects also help to teach your children problem-solving skills, curiosity, and critical thinking. All useful tools for whatever they decide to do with their lives.

