1st and 2nd Grade Science Fair Projects — Bring Home the Gold!
Science fairs have come a long way since we were kids! Baking soda induced volcanic eruptions and singing to plants is no longer enough to score a medal. Need more awesome 1st and 2nd grade science fair projects/ideas? Read on to learn how to bring home the gold!
Related Post: Simple Science Fair Projects for 3rd Grade
1. Printing Power!
Materials Needed:
- Computer
- Printer
- Printer ink
- Copy paper
In this project from Science Buddies, children learn about a current buzz topic — the environment! You will love this project for its money-saving applications in your home life, as your children learn about the cost of printing, both financially and environmentally.
Essentially, in this project, students will have to print the same document using multiple variations of text and font size to track which combination is the most economical. As they print the same document, they have to track the number of pages that it takes to print the same amount of content.
If you would like to extend this project into mathematics, they can condense their findings into a bar graph. Be prepared to save on printing costs as they learn how to minimize their environmental impact!
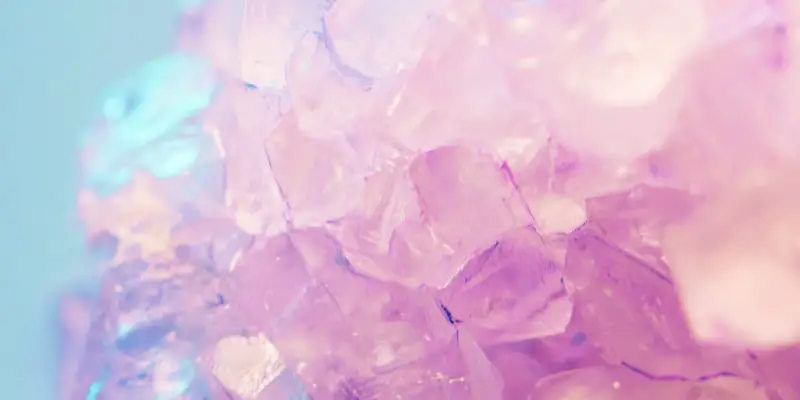
2. Grow Salt Crystals
Materials Needed:
- A jar
- Water
- Salt
- A spoon
- String
- Scissors
- A toothpick
First and second-graders love to create things! Give them the opportunity to do just that by growing your very own salt crystals within your home.
In this project, students will need to mix water and salt in a jar and then dangle the string into the jar (using the toothpicks to keep the string from falling in). Leave the jar and wait for your salt crystals to grow. The best part of this experiment is that students will have a tangible end-product to show off at school, instead of just a trifold board!
If you would like to extend this project, consider trying to vary the recipe by adding coloring or other ingredients. Evaluate your different crystals under a small microscope. What differences would they notice between the original recipe and their unique recipes?
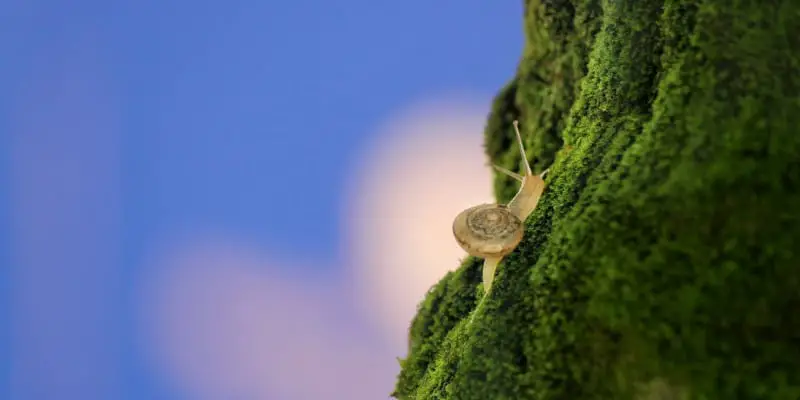
3. Snail Races
Materials Needed:
- Snails
- Dirt
- Gravel
- Grass
This one isn’t for the faint of heart, but we promise that if you give it a try, your child will adore you. Purchase three snails from a pet shop, or even a bait shop, and place each one on a different type of ground: dirt, gravel, and grass.
Allow your child to “race” the snails, with a stopwatch and ultimately make a determination about which type of ground the snails travel on best. The best part of this experiment is that there is no clean-up – just release the snails into the garden when done!
Extend this project by questioning your child. Are there other factors that could have influenced the snail other than the terrain upon which they found themselves? Which factor had the biggest influence?
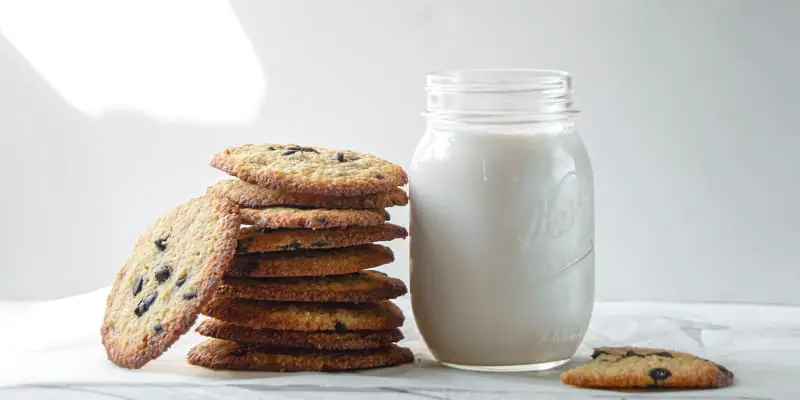
4. Milk and Cookies and the Scientific Method
Materials Needed:
- Milk
- A glass
- A variety of cookies
In this fabulous project from Around the Kampfire, children get to take one of their favorite things, milk and cookies, and turn it into a science experiment. Your children will feel that their dreams have come true!
In this experiment, your child will dunk various brands of cookies to observe whether they sink or float in the glass of milk. Because this project includes some beautifully crafted handouts and includes materials that many of us have in our pantry, it’s a great selection if you’re in a bit of a time crunch.
Choose to prod your child’s thinking by beginning a conversation about density. Things that float are less dense than milk, while things that sink are more dense. Invite them to determine which cookies were denser and which were not.
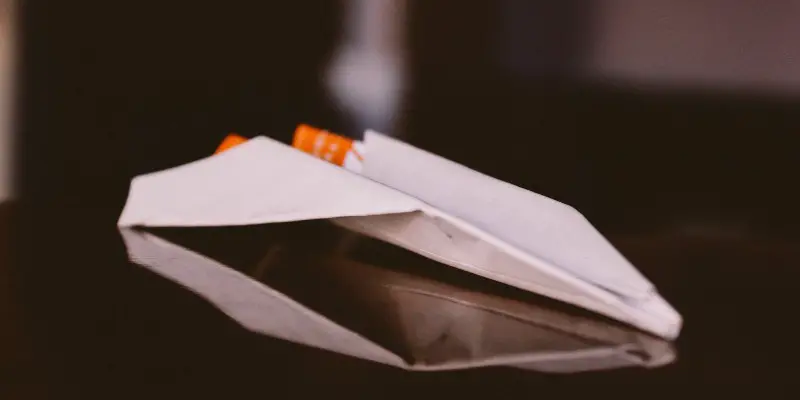
5. Paper Airplane Science
Materials Needed:
- Paper
- A measuring tape
While often frowned upon in school, paper airplanes make a great science fair subject!
Use various templates to create an army of airplanes and let them fly. Have your child measure the distance that each airplane flies and determine which model airplane is the best.
If you’d like to extend this project, consider adding extenuating factors. How does each model fly when the ceiling fan is turned on? Does a different model become the frontrunner if you use heavier paper? You can never go wrong by pushing your students to think more deeply.
6. Gummy Bear Science

Materials Needed:
- Gummy bears
- Plastic cups
- Salt
- Milk
- Water
- Sugar
- Vinegar
- Baking soda
Your child will not only love seeing gummy bears expand and change shape in this solubility-centered experiment, but they will eagerly anticipate the opportunity to eat the leftovers!
In this experiment, you will need to craft various liquid solutions such as saltwater or baking soda and water where you’ll soak the gummy bears for five minutes. After five minutes, take them out and observe the changes in the gummy bears based on which liquid they were in.
You can extend this project by talking about osmosis with your children. Osmosis is the movement of water through a membrane based on concentration. Ask them why they think certain solutions were absorbed more or less by their gummy bears.
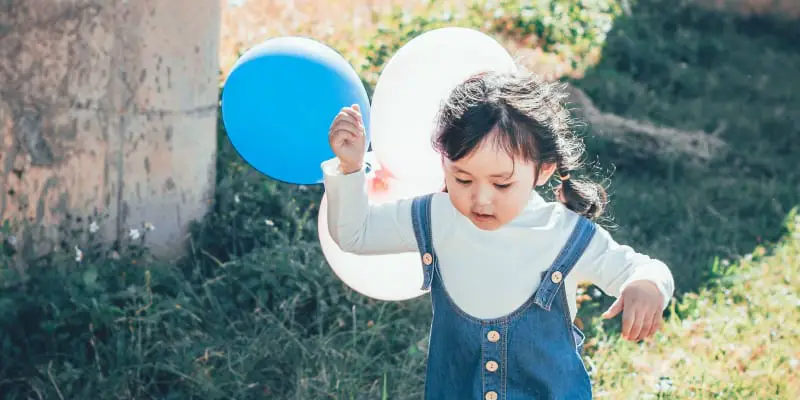
7. Static Electricity
Materials Needed:
- Balloons
- Sweaters
- Any other object you’d like to test!
Think about how a balloon rubbed against your hair can make it stick straight up! Students would love experimenting to see what other objects they can create a static connection with in this experiment.
First, select the items. Once the kids are done choosing the items they would like to test, have them rub the items against a balloon to determine whether or not they create static electricity.
Which items stick to the balloon and which do not?
If you’d like your child to learn more about the concepts behind this science experiment, check out this online simulation!
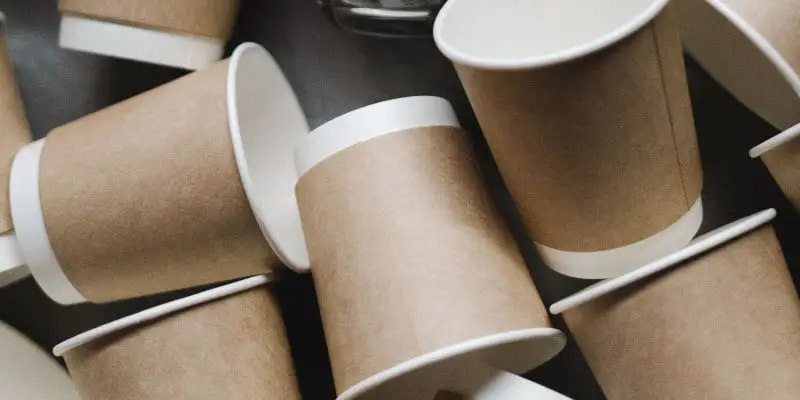
8. Paper Cup Phone
Materials Needed:
- Two paper cups
- Yarn
What child hasn’t dreamed about creating their own phone to use with their sibling or next-door neighbor? We sure did, once upon a time!
In this project, students have to build a paper cup phone and learn about how sound waves travel through the yarn to allow them to speak with their friends. Make sure that the kids would pull the string taught when speaking, or else the sound will not be able to vibrate through the string!
Extend the learning with this packet from the National Science Teachers’ Association. With this, children would be asked to further observe and check if they are able to see the sound as it moves throughout the string.
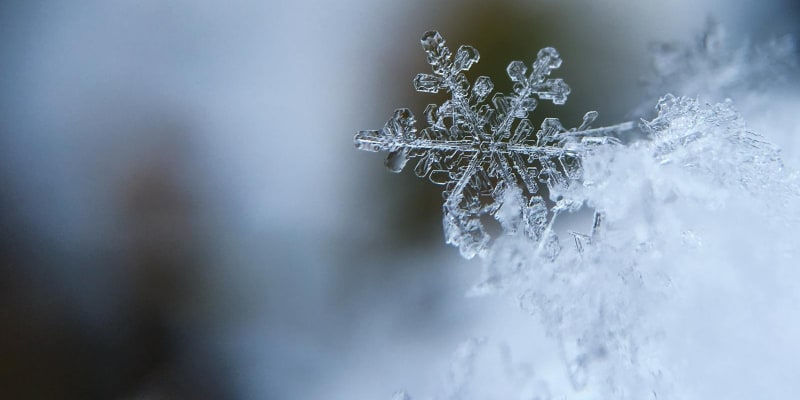
9. Swatches on Snow
Materials Needed:
- Snow (or ice!)
- Fabric swatches
Combine science and social studies by telling your children that the first person to run this experiment was none other than Benjamin Franklin.
In this experiment, children have to take various colors of fabric swatches and lay them over snow. If you do not live in a climate with snow, you can replicate this by doing it with ice. Children should then track to see which bit of snow, or ice, melts fastest.
To bring the science home in this experiment, you can speak with them about heat absorption. They’ll love connecting this concept to their clothes- how certain colors feel warmer than others when they are out playing!
10. DIY Bouncy Balls
Materials Needed:
- ½ cup of warm water
- 1Tb borax
- 1Tb cornstarch
- 2Tb white liquid glue
- Optional food coloring
Using this recipe from The 36th Avenue, dazzle your students by allowing them to make their own bouncy balls!
Begin by mixing the warm water and borax. Similar to slime, in another cup, they should mix glue, cornstarch, and liquid glue. Instruct them to pour the glue mixture into the water mixture. Once it begins to harden, remove it from the water and begin rolling it in your hands.
If you’d like to extend this project beyond simple balls, experiment with the amounts of each ingredient that you use. For example, more cornstarch will result in a ball that stretches, rather than bounces.
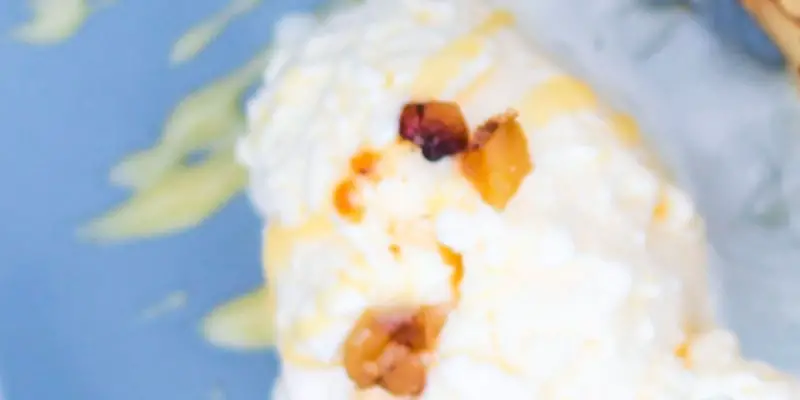
11. Ice Cream in a Bag
Materials Needed:
- ¼ cup of sugar
- ½ cup milk
- ½ whipping cream
- ¼ teaspoon vanilla
- 1 quart-sized ziploc
- 1 gallon-sized ziploc
- 2 cups ice
- Thermometer
- ½ cup rock salt
- Measuring cups
- Measuring spoons
- Cups
- Spoons
Who doesn’t love a science experiment that they can turn into a snack? We sure do! Check out this recipe from ThoughtCo for a sweet, experimental treat.
Add the sugar, milk, whipping cream, and vanilla to the quart-sized bag and seal it. Place two cups of ice into the gallon bag. Use a thermometer to measure and record the temperature of the ice at this point. Add the rock salt to the bag of ice and begin rocking the gallon bag from side to side. Continue to rock it for ten to fifteen minutes until the contents have solidified into ice cream. Open the bag and record the temperature, and enjoy!
A great way to extend the discussion about this little experiment is to go over the different changes that occurred with the class. Talk about why the liquid ingredients solidified into solid components. What would happen if you added heat? And so on.
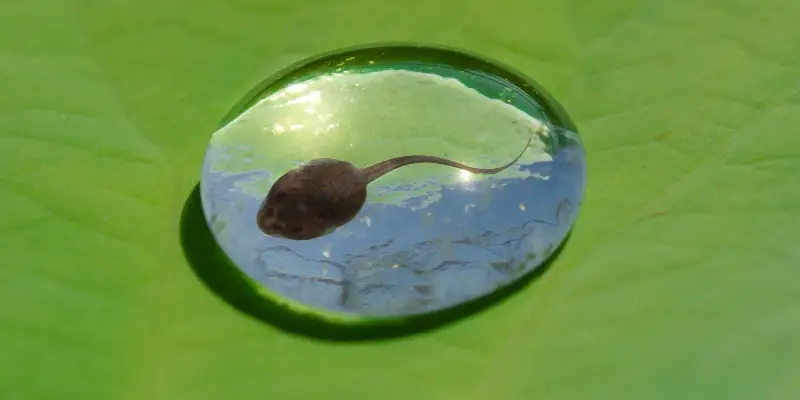
12. Raising Tadpoles
Materials Needed:
- Tadpoles
- Container
- Clean water
- Tadpole food
Every child wants a pet. Commit to a pet that you can gradually release by offering to grow tadpoles with your curious students.
Place the tadpoles in a shaded area and feed them every few days. The children should then record their growth by drawing pictures every so often. Once the tadpole develops legs, you will need to give it a small brach to use as a perch. As the tadpole develops further, make your plan to release it back into the wild!
Use this as an opportunity to discuss life cycles with the kids. Discuss the various stages of life they are observing and teach compare and contrast skills by evaluating the differences between the stages.
Frequently Asked Questions
What tips do you have for creating a strong presentation?
The first thing you would want to do when crafting a board for your presentation is planning it in advance. Nothing clutters a board faster than a child who glues first and asks questions later! Place the title front and center on the board using visually appealing fonts and graphics and organize all of your information around it. Consider matting your data sheets to make them pop from the color of the trifold board.
How do I know a science fair project is appropriate for my child?
The point of science fairs is for children to learn about a science topic while building their confidence through presentation skills. A project is appropriate if they can take on eighty percent of the methods by themselves with you stepping in as an assistant. If you find yourself doing the majority of the work, it’s possible that you did not select an age-appropriate project for them.
How do I get the most out of a science fair project?
Use the scientific method! This is a great opportunity for kids to practice making and evaluating predictions. Not only are these critical science skills, but they are important reading skills — it’s also one way to help them improve their academics across the board!
How should I prepare for judging?
Help them practice speaking in front of people! They should be able to recite their project as though it is second nature so that when the nerves kick in, they will be ready to give it their best! Prepare them to answer basic questions such as: Where did you get this idea? How did you choose your title? What did you learn about while you were doing this?


